STEP 1: Make a sketch on paper by hand
STEP 2: Digitize it into your computer
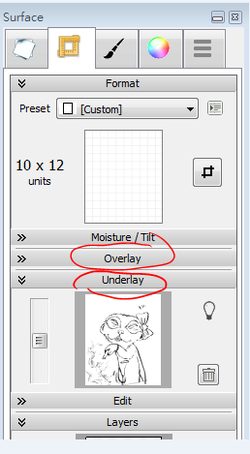
STEP 3: Trace the sketch with a dry brush using the Underlay (or Overlay) function in Expresii
今天,我們介紹一下 狐獴大叔 (ミーアキャットおじさん) 是怎樣用Expresii 畫出水墨漫畫來的:
步驟 1:先手繪草圖
步驟 2:把草圖掃描進電腦
步驟 3:用Expresii 的 ’背景圖像’ ( ‘前景圖像’ 亦可)功能導入草圖,以乾筆把草圖描成線稿
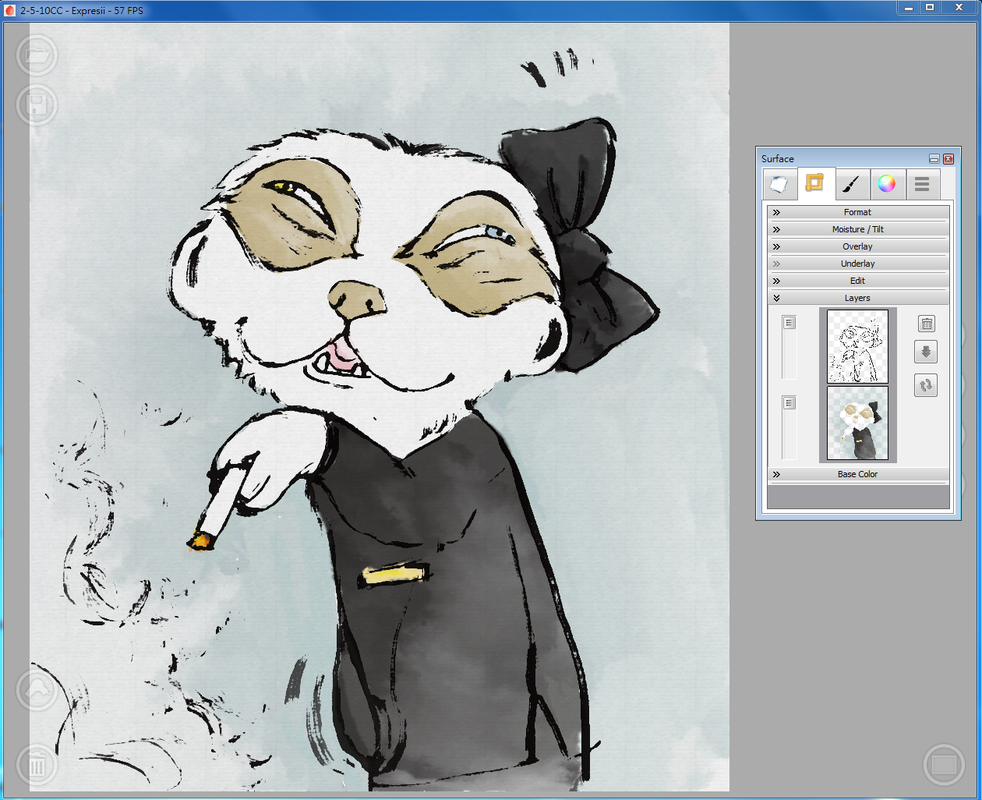
步驟 4:在另一圖層,用濕筆加入墨色層
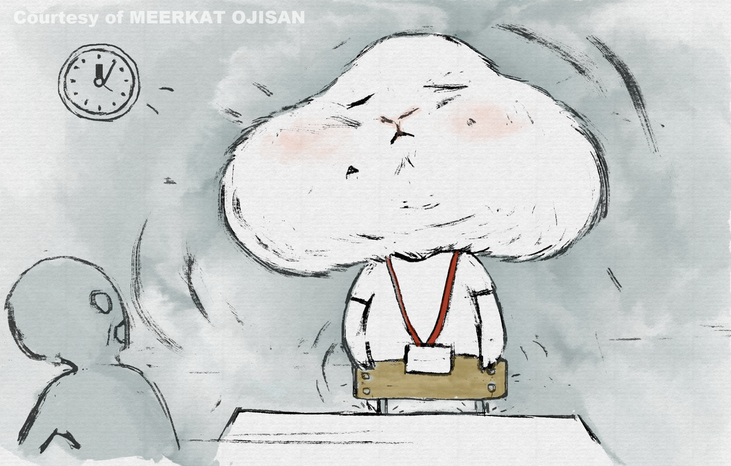
This is what it looks with 'ink work' added to the 'line work' in Expresii:
這是加入墨色層後的模樣:
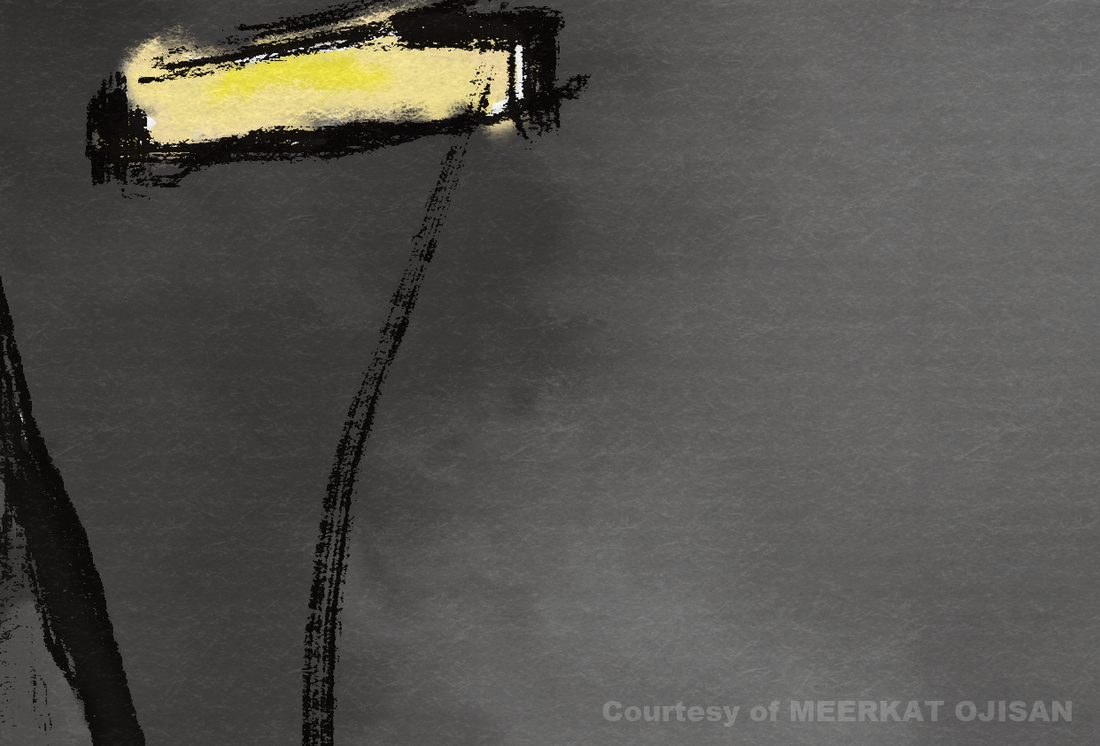
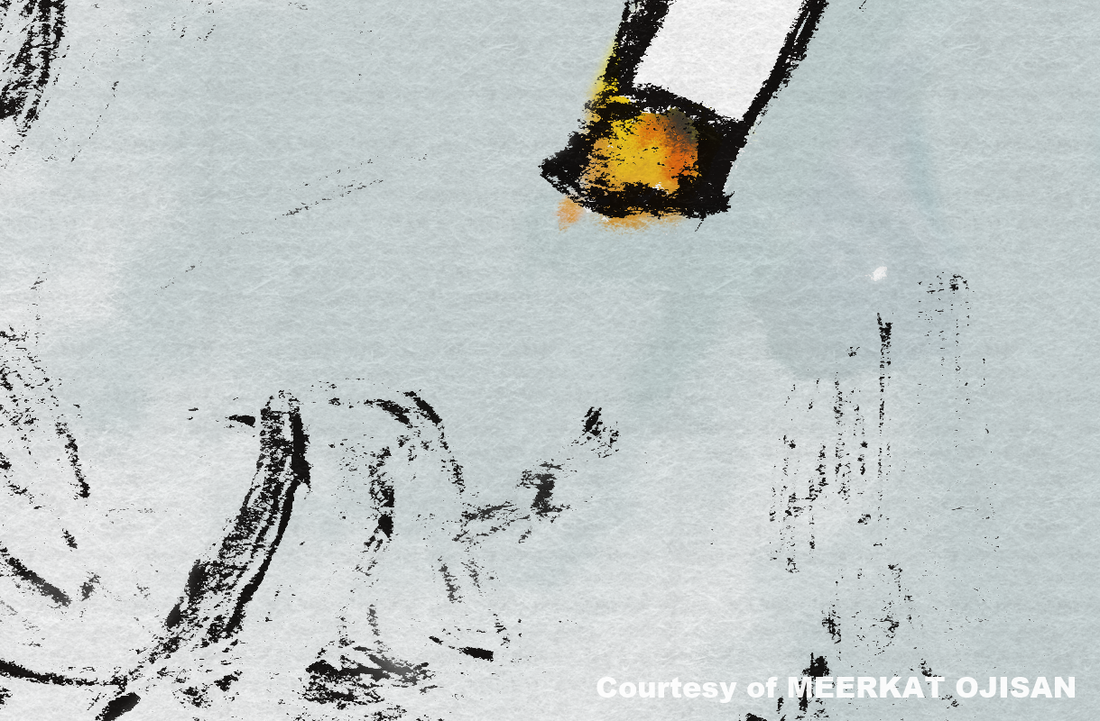
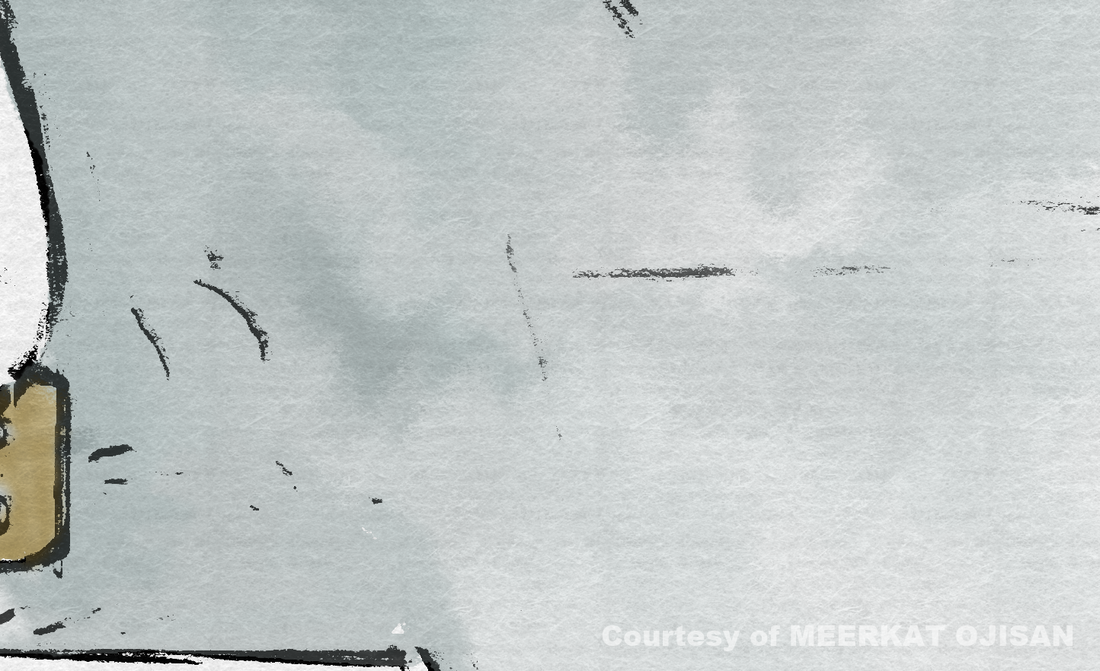
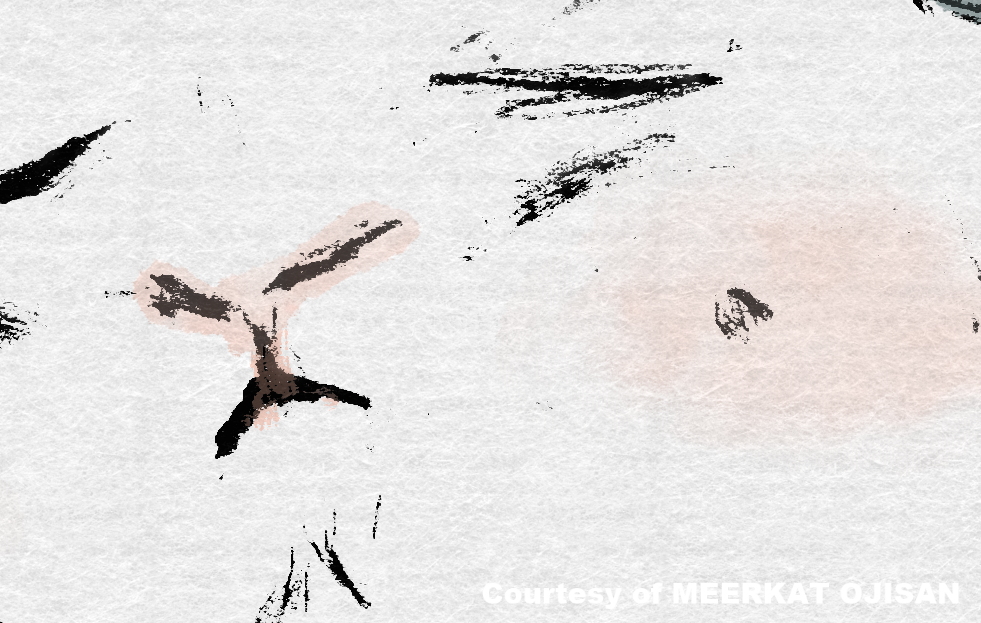
| 對於Expresii 裡作畫,狐朦大叔作者表示 “是一種享受!” “水墨太好玩了!” “速度很快,比PS 好多了!”(注:他的電腦配有獨立顯卡,而Expresii 的水墨模擬運用了顯卡GPU運算故速度很快。顯卡不需要太貴的,就如 美金$100 的GT740 2GB已經很流暢) I can't emphasize enough the ability to zoom-in in Expresii. See a few close-ups below. It's simply stunning when you look at the hi-res output! Expresii 可以輸出超大的圖。當你看到整幅大圖,有著那些微妙的水墨滲化效果,會覺得很震撼! |
Here is another example 這是另一範例幅:
STEP 5: Export a snapshot as PNG or PSD (alpha supported; layers preserved in PSD) or do a Copy (Ctrl-C)
STEP 6: Import or Paste (Ctrl-V) the image into Photoshop to do some color adjustment
STEP 7: Frame and add text (using third-party tool)
最後,
步驟 5 :匯出畫作為PNG 或 PSD 圖檔 (支持 alpha;PSD 還可保留圖層),或拷貝(Ctrl-C)到剪貼板
步驟 6:匯入或貼上(Ctrl-V) 到用Photoshop 調一下顏色
步驟 7:再用其他軟體排框和加文字
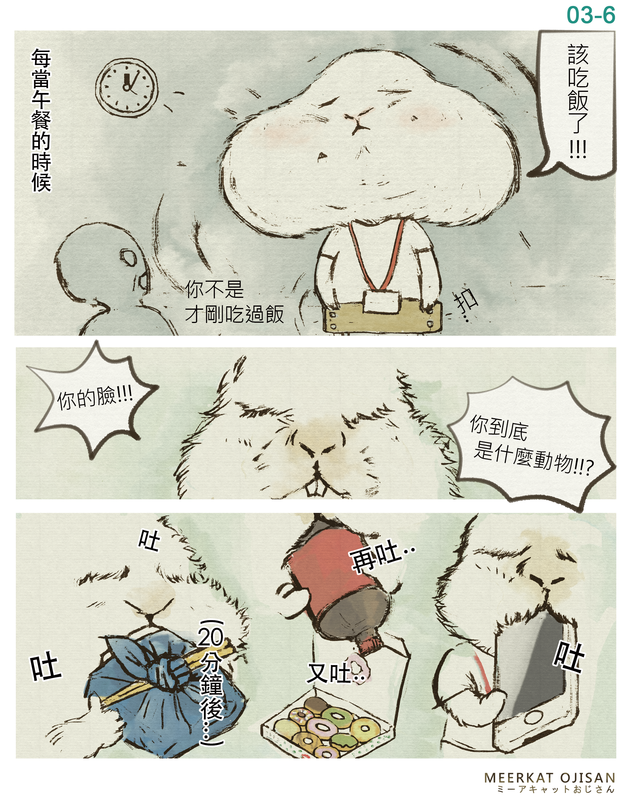
That's it. Here is the finished piece 這樣一格漫畫就大功告成啦,看完成圖 :
想看多點【狐獴大叔】原創漫畫,請到 狐獴大叔 Facebook 專頁啊~~


 RSS Feed
